

Project Objective
- To explore the relationship of manually manipulating shutter speed as a means to create content in photographic images.
- Utilize line, shape, space, value and texture to create contrast and focal point.
- Explore the concept of time to enhance your content.
Project Description
In this project you will explore content by setting the feeling of your images through form and technical skills.
Step-by-Step Directions
Step 1:
Watch the four video segments listed below and answer the questions on your WordPress E-Portfolio in a paragraph format:
Roni Horn
Hiroshi Sugimoto
Duane Michaels
Sophie Calle
- Rank the photographers above from your favorite to your least favorite.
- What was it about your favorite photographer that you thought was interesting? Was it the actual images themselves? Was it the way the photographer talked about their work & ideas? Something else?
- How are you going to try to incorporate the above answer (idea) into your own work?
- Was their anything you thought was terrible/ridiculous/dumb about any of the things you watched or heard? If so, what? And why?
Step 2:
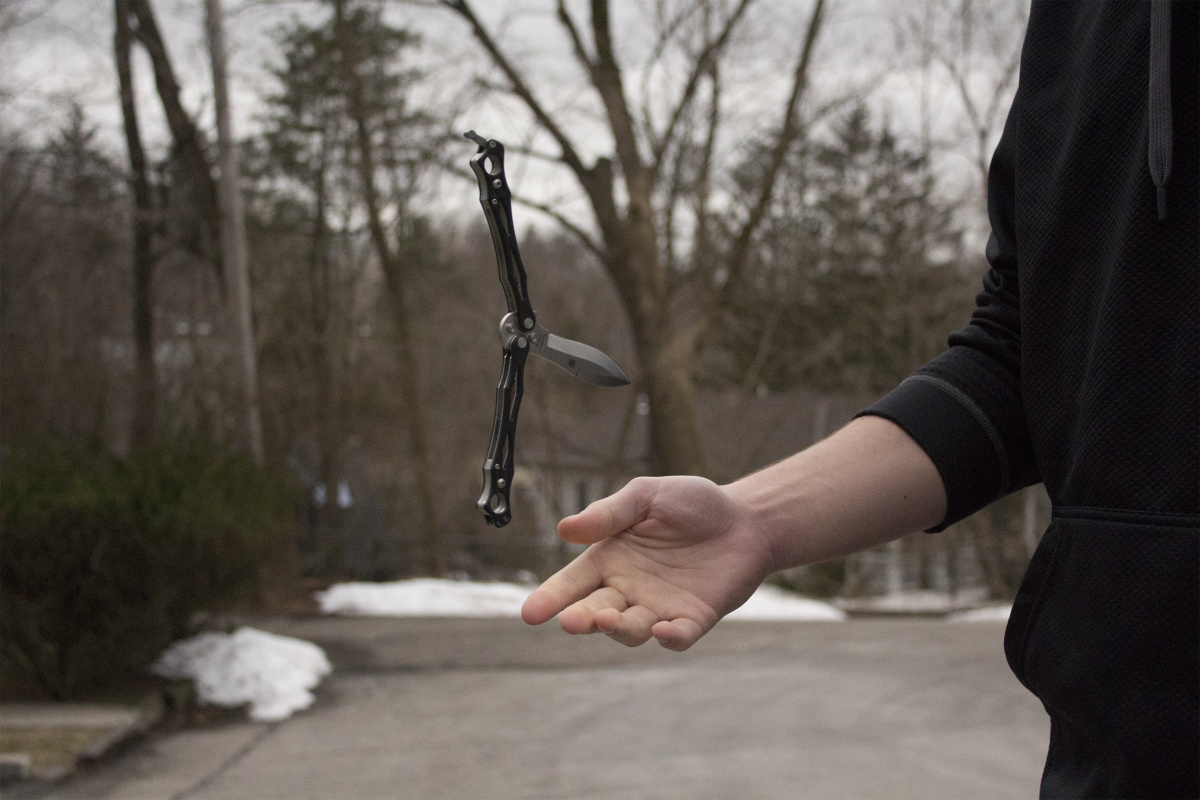
After having watched the above videos and written your thoughts down about the experience, YOU now need to create a series of images that explore the idea of time using your shutter speed. You will be using both slow and fast shutter speeds.
This means that your “content” is time– that you must deal with the passage of time (change or lack of change) in your photographs.
If you find yourself struggling to come up with an idea, consider how time is explored within the work of the photographers you just watched.
You will need to select both moving and stationary objects so that you can demonstrate your skill at both “capturing” and “freezing” motion.
Do not get fixated on mastering the technique and forget about composition.
These should still be compelling images that show an awareness of the rule of thirds, focal point and negative positive shape relationships.
You should have at least 90+ images (they don’t all have to be radically different – you may try shooting a scene multiple times using different shutter speeds). Do not start taking pictures for this project without checking the photographic_template.
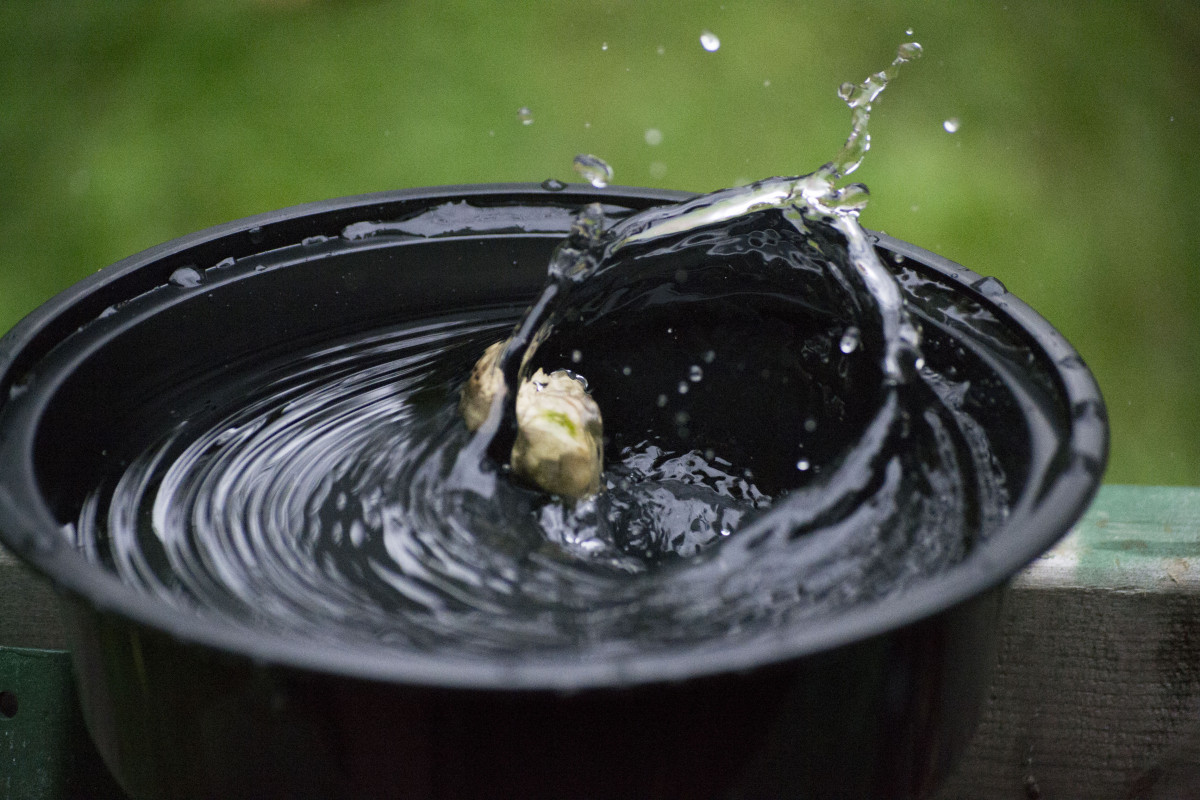
1. Your first photos should have motion blur where the subject moves.
Moving Subject + Slow Shutter Speed = Motion Blur:

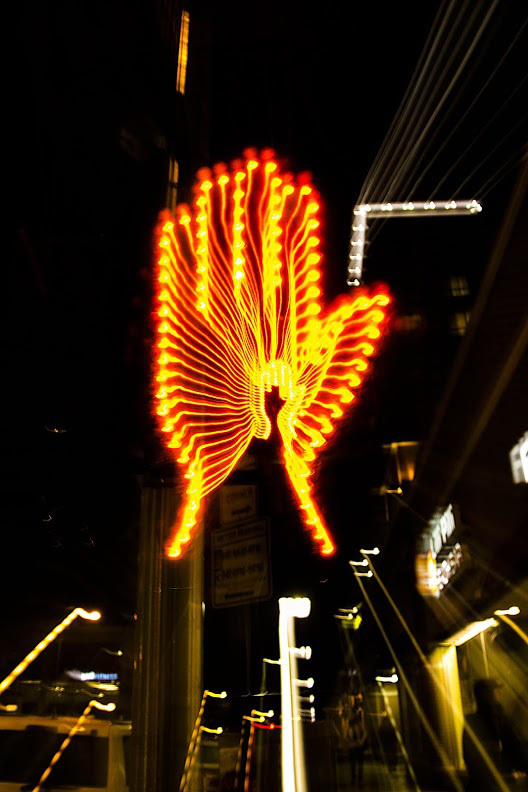
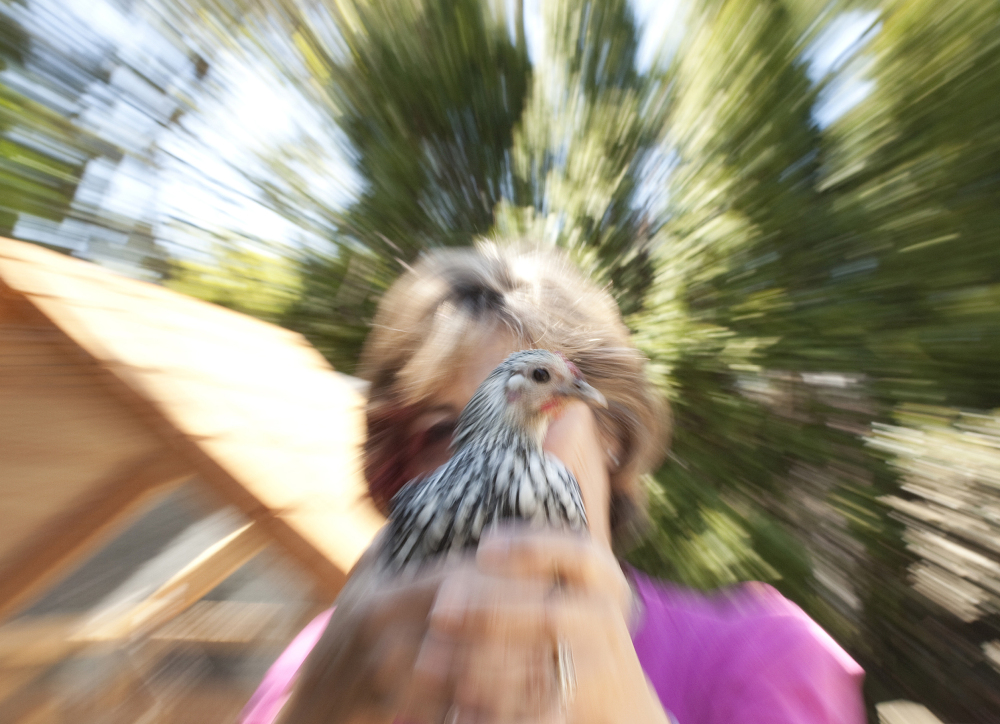
2. Your second photos should have camera blur where the camera moves (up, down, sideways) but your subject is still.
Static Subject + Camera Moves + Slow Shutter Speed = Camera Blur:
3. Your third photos are experimenting with panning. The subject should move and you move the camera following the subject so that the background appears blurred.
Moving Subject + Camera Moves + Slow Shutter Speed = Panning:
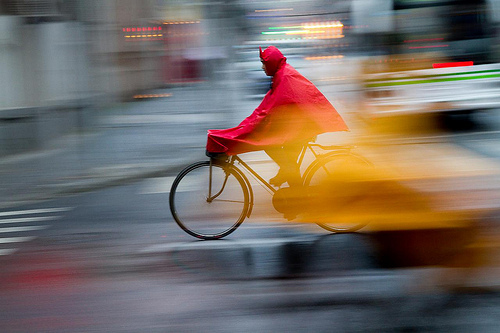
by David Peterson. http://www.digital-photo-secrets.com/tip/4434/panning-motion-blur-subject-focus/
4. Your last photos will freeze the action of a moving object or person.
Moving Subject + Fast Shutter Speed = Freeze:
Try to shoot in RAW if possible.
Step 3:
Upload and archive all your images paying attention to file management – organizing your images in folders and labeling them properly. Create the contact sheets (8″ x 10″, 3 rows x 3 columns, no caption) to present every image you shot for this assignment. Do not edit out your mistakes, crop, or adjust any of the images. Upload your contact sheets to your E-Portfolio.
Step 4:
Selected your four (4) strongest images – one from each of the above categories – and upload each of them to your E-Portfolio in their own Child Page under the project’s page. Use the photographic_template to analyze your four photographs. Include the image’s technical description – significant meta-data: ISO, Shutter Speed, Aperture – any setting that you INTENTIONALLY used to photograph the image.
Step 5:
Evaluate your artistic decisions and thoughts around this project.
Considerations
- Did you do the written portion of the assignment?
- Did you complete the photographic template?
- Did you take over 90+ photographs?
- Did you make the 9 contact sheets & upload them to your Digital Online Portfolio?
- Did you present your contact sheets for critique?
- Did you upload the final four samples and wrote the metadata for the above images?
- Do your four final photos demonstrate your understanding + application of contrast, focal point and rule of thirds?
- Do your 4 final photos deal conceptually with the idea of “TIME”?
Grading Criteria
This project is worth 8 points.
- Studies + 1 Final Motion Blur (metadata + design) (2 points)
- Studies + 1 Final Camera Blur (metadata + design) (2 points)
- Studies + 1 Final Panning (metadata + design) (2 points)
- Studies + 1 Final Freeze (metadata + design) (2 points)
Related References
Controlling Time | Shutter Speed